


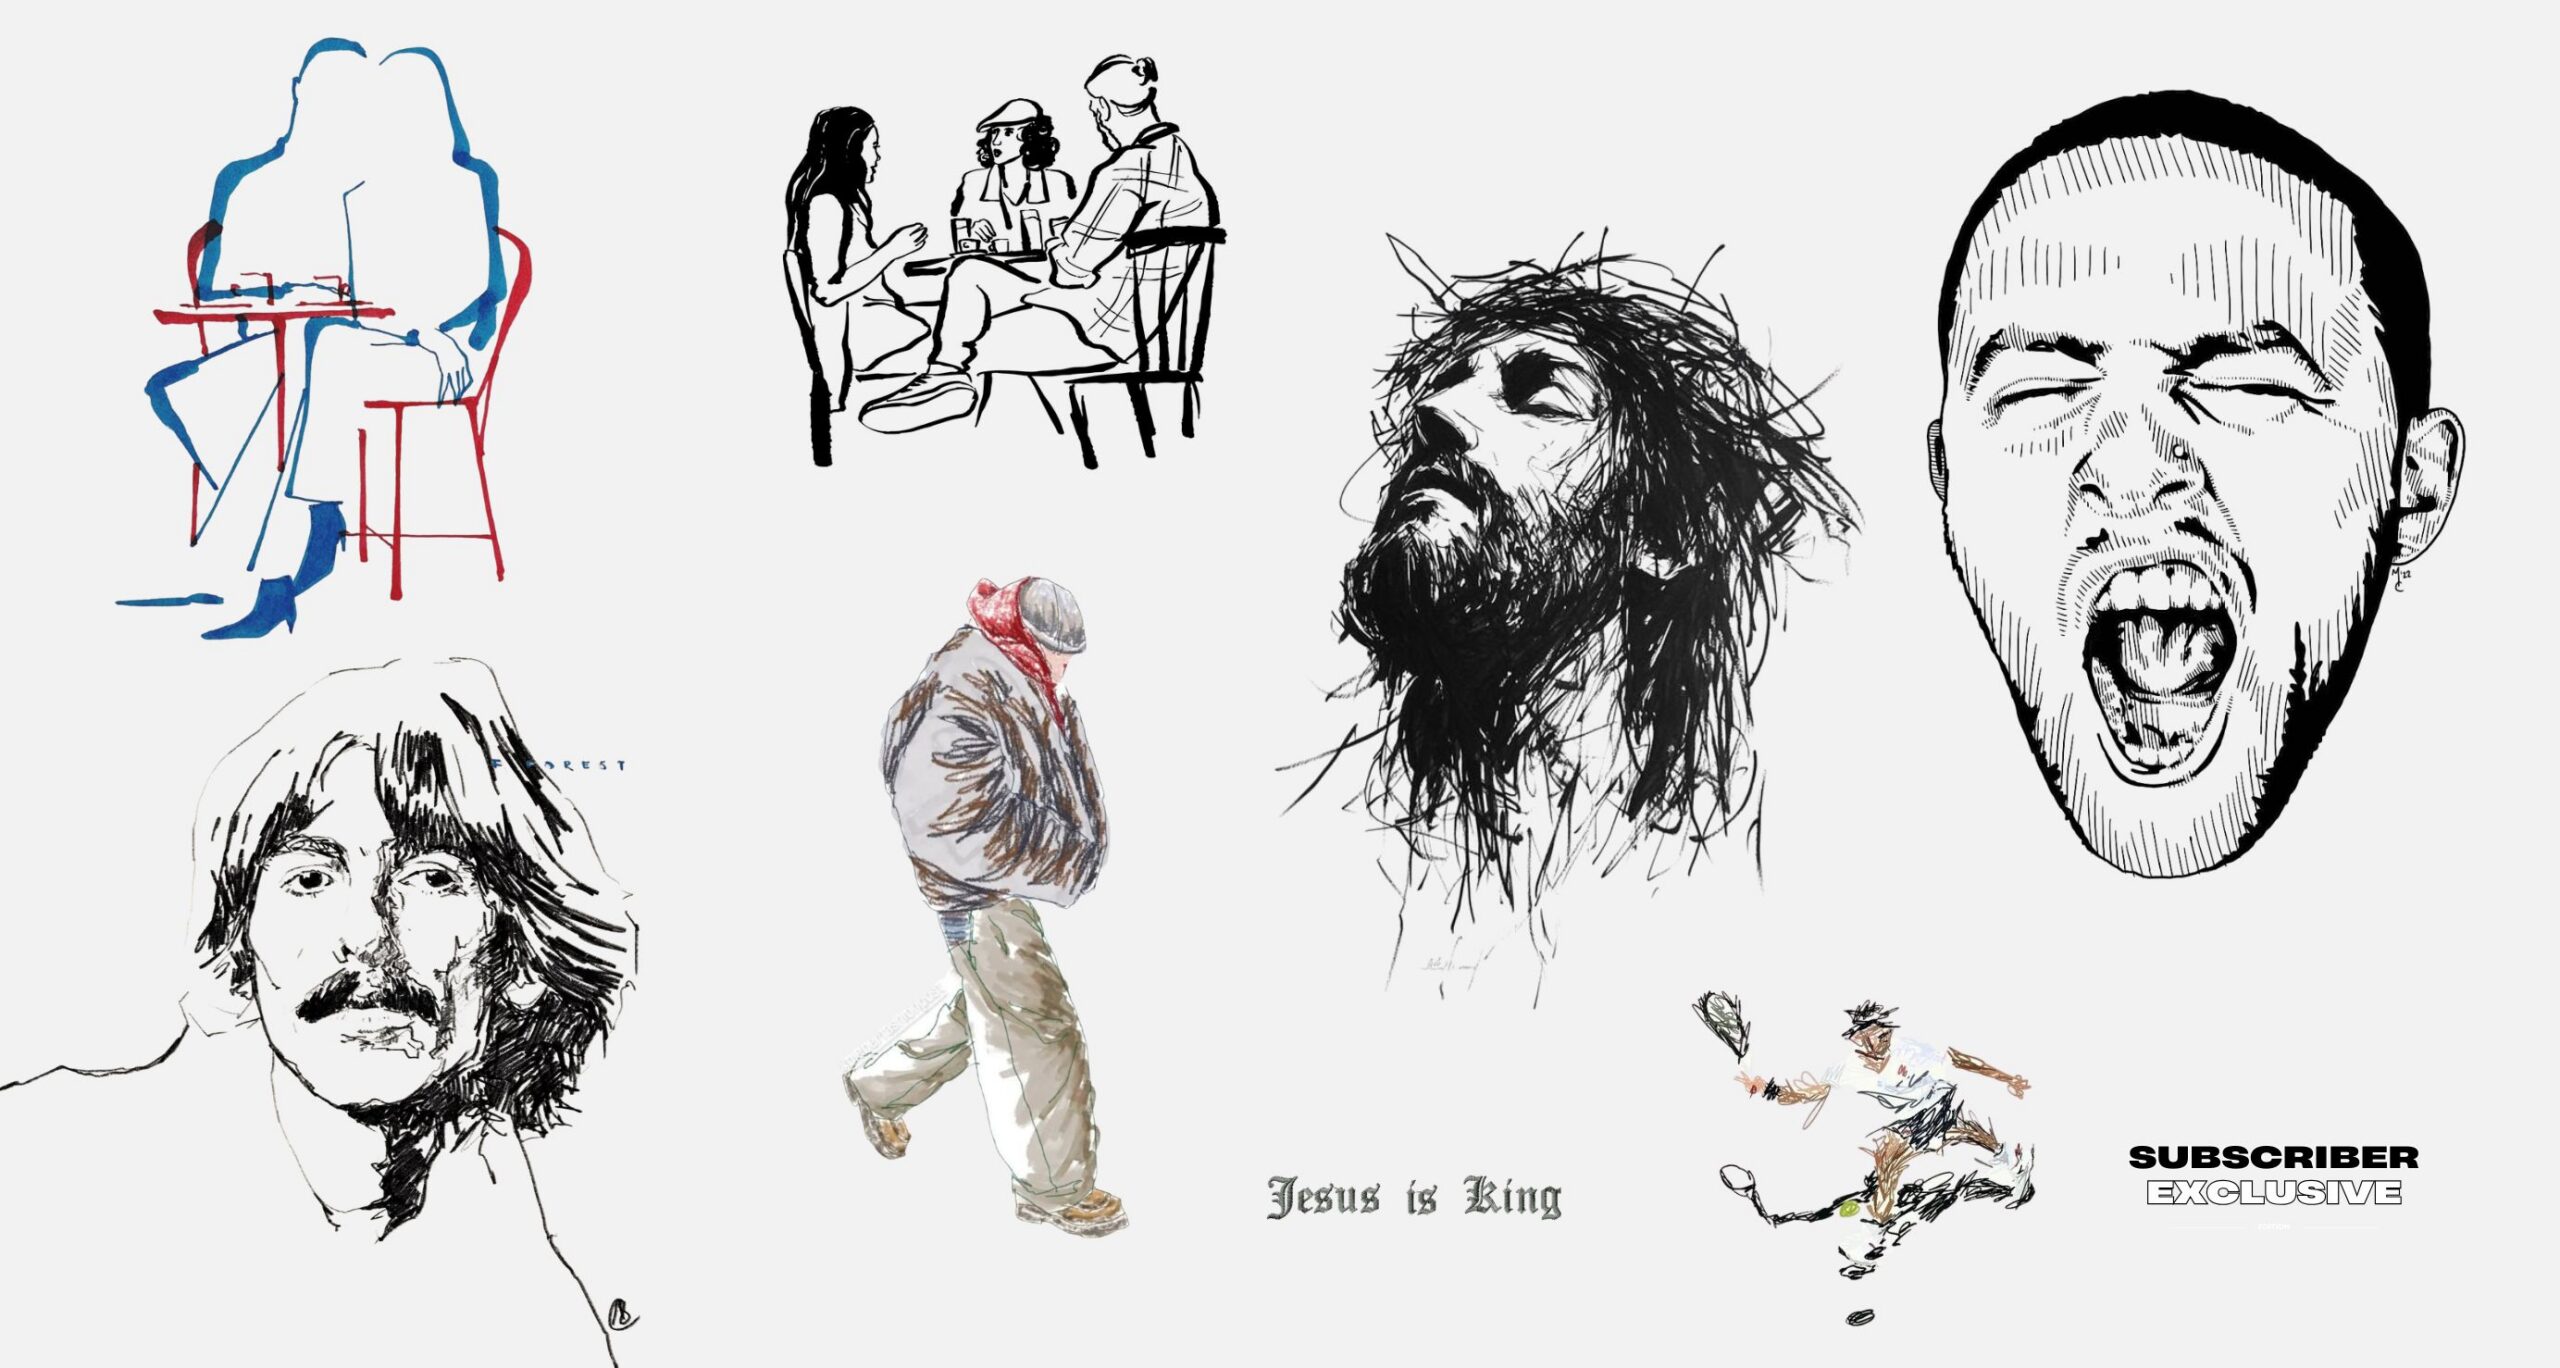
Drawing techniques are practical methods beginners can use to turn simple lines, shapes and observations into expressive artwork, whether they are sketching in a notebook, exploring digital illustration, or preparing for their first art class. At SFI.COZA, we believe you do not need an expensive art studio, a collection of professional pencils or the mysterious ability to draw a perfect circle to begin. You can start today, with a pencil, a sheet of paper and something ordinary in front of you. From contour drawing to shading and perspective, these 10 techniques will help you build confidence, understand how artists see the world and discover your own creative style.
Drawing has a way of making us notice things we usually overlook. The curve of a coffee mug, the folds in a jacket or the shadows beneath a street-side fruit stall suddenly become interesting when you try to reproduce them on paper. In South Africa, where everyday life offers everything from dramatic mountain landscapes to colourful markets and distinctive urban architecture, inspiration is hardly in short supply.
The real challenge is usually knowing where to start. Your first drawing might look suspiciously unlike the object you intended to capture, but that is part of learning. Artists develop their skills through observation, experimentation, and practice, not by waiting for a mysterious creative gift to arrive.
Here are 10 beginner-friendly drawing techniques you can practice at home, in a classroom, or during a quiet afternoon at your favourite café.
How to Draw Better: 10 Beginner-Friendly Techniques to Practice at Home Share on X1. Gesture Drawing: Capture Movement Before Details

Gesture drawing is a quick, loose approach to capturing the overall movement, energy, and posture of a subject. Instead of concentrating on every detail, you focus on the action and the relationship between the main forms.
Imagine sketching someone walking across a busy Johannesburg pavement. You do not need to draw every button on their shirt. Start with the tilt of their shoulders, the direction of their spine and the position of their legs.
How to practise it:
- Choose a person, pet or moving subject.
- Set a timer for 30–60 seconds.
- Use loose lines to capture the overall pose.
- Repeat several times without worrying about perfection.
The aim is to train your eye to recognize movement. Adobe’s illustration guidance also recommends drawing from real-life references to develop a better understanding of poses and perspective.
How to Draw Better: 10 Beginner-Friendly Techniques to Practice at Home Share on X2. Contour Drawing: Learn to Really Look
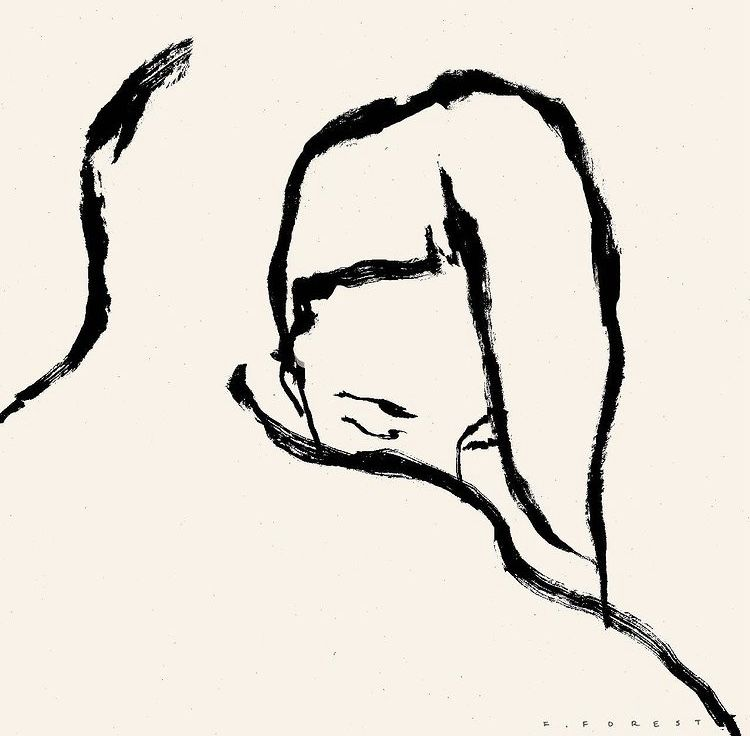
Contour drawing focuses on the outlines and visible edges of an object. It teaches you to observe shapes carefully instead of relying on what your brain assumes an object should look like.
Try drawing your hand, a pair of sneakers or a houseplant. Follow the outer edges slowly, noticing where the lines curve, change direction or disappear behind another shape.
For an extra challenge, attempt blind contour drawing: look at the subject rather than the paper while drawing its outline. Your result might resemble a map of a particularly confusing neighbourhood, but the exercise encourages careful observation and hand-eye coordination.
Artists Network discusses blind contour drawing as a foundational exercise for beginners because it encourages artists to study what they actually see.
Beginner tip: Spend five minutes on one object, concentrating on observation rather than accuracy. You may be surprised by how much detail you notice.
How to Draw Better: 10 Beginner-Friendly Techniques to Practice at Home Share on X3. Basic Shapes: Build Complex Objects from Simple Forms
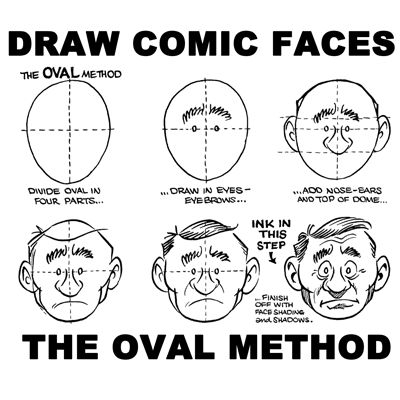
One of the easiest ways to approach drawing is to break complicated subjects into circles, rectangles, triangles and cylinders.
A person’s head can begin as an oval. A coffee cup can be represented by a cylinder. A building can start as a collection of rectangles, while a fruit bowl might combine several circles and curved lines.
This approach is useful because it gives you a structure before you add details.
Try this exercise:
- Choose an object from your surroundings.
- Identify the simplest shapes that describe its main parts.
- Sketch those shapes lightly.
- Adjust their proportions before refining the outline.
- Erase unnecessary guidelines and add details.
Think of these shapes as the scaffolding of your drawing. They do not need to remain visible in the finished artwork, but they help you establish the structure before worrying about the finer details.
How to Draw Better: 10 Beginner-Friendly Techniques to Practice at Home Share on X4. Shading: Make Flat Drawings Look Three-Dimensional

Shading uses variations in light and dark to suggest depth, volume and the direction of light. Without it, a drawing of an orange may look like a flat circle. With thoughtful shading, it begins to appear round.
Place an orange or apple beside a window and observe how light reaches one side while the opposite side becomes darker. Notice the shadow on the table, too.
Start by creating five tonal squares, ranging from very light to very dark. Practise controlling your pencil pressure to produce different values.
The National Gallery of Art’s drawing resources explain how variations in pressure and mark-making help artists create tone, texture and form.
How to Draw Better: 10 Beginner-Friendly Techniques to Practice at Home Share on X5. Hatching and Cross-Hatching: Create Tone with Lines
Hatching involves drawing parallel lines to build darker areas. Cross-hatching adds another layer of lines that intersect the first, allowing you to create deeper shadows and varied textures.
You do not need to blend everything into a perfectly smooth surface. Sometimes visible lines give a drawing more character.
For example, use closely spaced hatching to shade the side of a cardboard box or cross-hatching to create the shadow beneath a chair.
Practise by drawing three small squares:
- Leave the first mostly white.
- Fill the second with evenly spaced parallel lines.
- Add intersecting lines to the third until it becomes darker.
The closer the lines sit together, the darker the area generally appears. Experiment with different angles to see how the marks change the texture.
How to Draw Better: 10 Beginner-Friendly Techniques to Practice at Home Share on X6. Stippling: Use Dots to Build Texture
Stippling creates tone through small dots rather than continuous lines. More dots produce darker areas, while fewer dots leave the paper lighter.
It is a particularly satisfying technique when you want to create texture without relying on conventional shading.
Try drawing a small mushroom, a stone, a tree trunk or a simple landscape. Place dots close together in shadowed areas and space them further apart where light reaches the subject.
The trick is patience. Stippling can take longer than other techniques, so begin with a small subject instead of attempting a detailed portrait on your first afternoon.
You can use stippling with graphite, fineliners or other drawing tools that suit the paper and effect you want.
How to Draw Better: 10 Beginner-Friendly Techniques to Practice at Home Share on X7. Blending: Create Smooth Transitions Between Light and Dark
Blending softens the transitions between tonal areas. It can help create smooth skin tones in a portrait, subtle shadows on fabric or a rounded appearance on a piece of fruit.
Begin with a light layer of graphite. Add darker tones gradually, then use a clean blending stump or suitable paper blending tool to soften selected areas.
Avoid blending everything equally. Highlights, edges and some textures need to remain distinct if you want the object to look convincing.
A useful beginner exercise is to draw a sphere and shade it from light to dark. Leave a small highlight untouched, gradually deepen the opposite side and add a cast shadow underneath.
You will begin to see how carefully controlled tonal changes suggest three-dimensional form.
How to Draw Better: 10 Beginner-Friendly Techniques to Practice at Home Share on X8. Negative Space: Draw the Space Around an Object
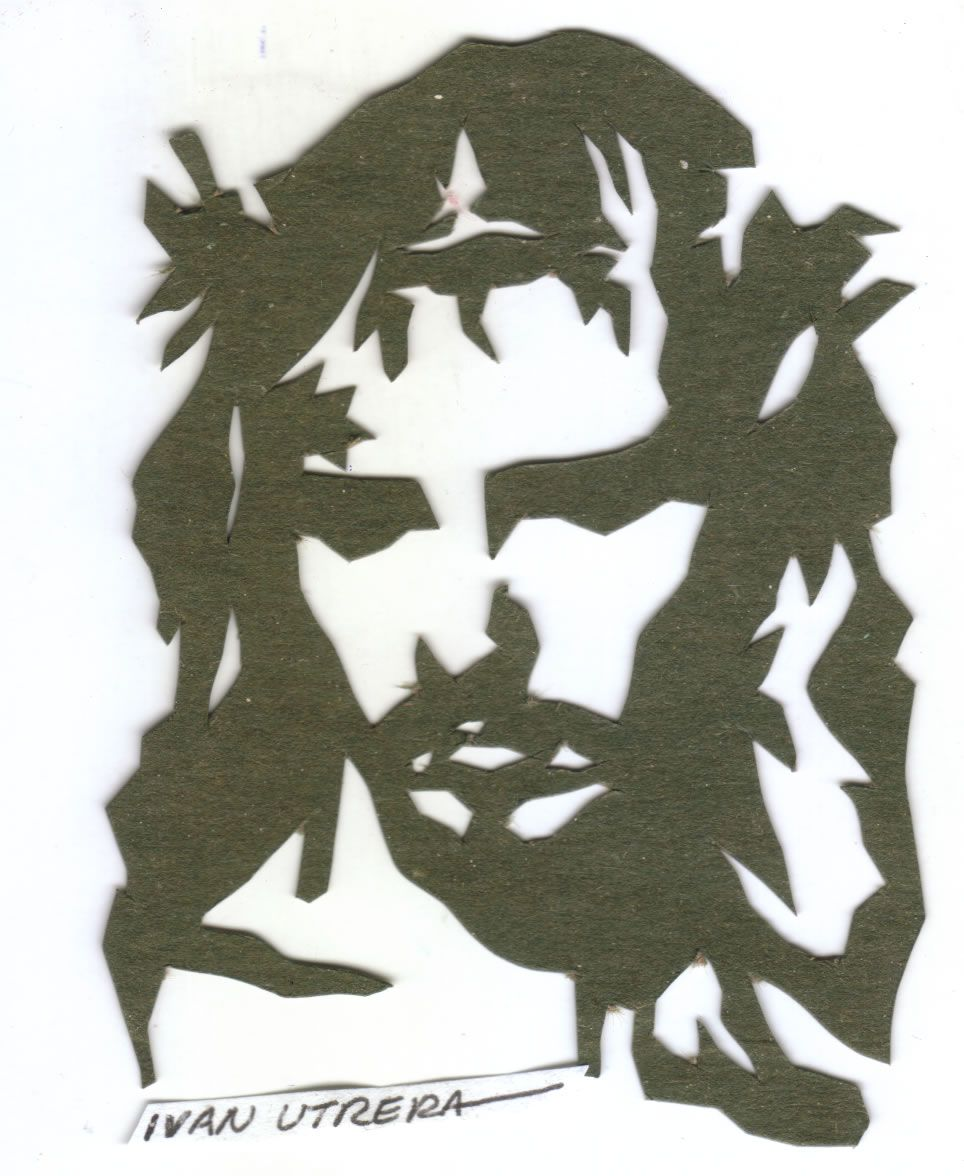
Negative space is the empty area surrounding or between objects. Learning to observe it can improve your proportions and help you recognise shapes you might otherwise overlook.
Imagine drawing a chair. Instead of concentrating only on its legs and backrest, observe the gaps between the legs and beneath the seat.
Those gaps have shapes of their own. If you draw them accurately, the chair’s structure often becomes easier to understand.
How to practise it: Place a chair in front of you and sketch the shapes of the empty spaces between its parts before outlining the chair itself.
This technique is especially helpful when drawing furniture, architectural details, plants and complex arrangements of objects.
It also reminds us that a good drawing is not only about what is present. What you leave open can be just as important.
How to Draw Better: 10 Beginner-Friendly Techniques to Practice at Home Share on X9. Perspective Drawing: Give Your Artwork Depth
Perspective helps create the illusion of three-dimensional space on a flat surface. It explains why parallel edges appear to converge as they recede into the distance.
For beginners, one-point perspective is a useful place to start.
Draw a horizontal horizon line and place a vanishing point on it. Sketch a simple road, railway line or corridor with edges that appear to converge towards that point.
You could also draw a street in Cape Town, a passage in a building or a row of houses viewed from the pavement.
Artists Network’s beginner guides to linear perspective explain how horizon lines and vanishing points help artists represent spatial depth.
Start with simple geometric forms before attempting a complicated cityscape. Understanding perspective takes practice, but it becomes much easier when you learn to recognise the underlying structure.
10. Gesture-Based Doodling: Turn Everyday Ideas into Creative Sketches
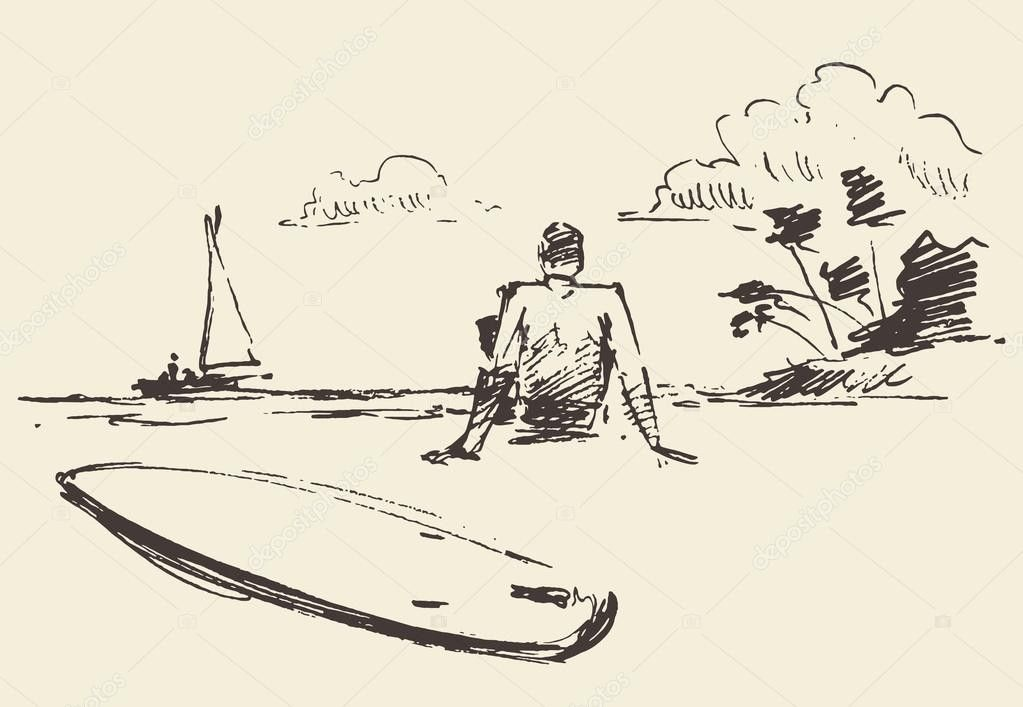
Doodling is often dismissed as something we do while waiting for a meeting to end, but it can be a useful way to explore ideas, practise shapes and develop visual confidence.
Begin with simple marks: spirals, repeated patterns, abstract faces, leaves, stars or geometric arrangements. Combine them into a small composition without worrying about producing a polished illustration.
For an African-inspired creative exercise, you might explore repeated geometric motifs, architectural patterns or the shapes of everyday objects in your community. Study the references carefully, acknowledge their cultural origins where relevant, and avoid treating diverse African visual traditions as one interchangeable style.
You can also use doodling to develop ideas for a personal journal, poster, fashion concept or digital illustration.
The objective is experimentation. Sometimes an unplanned sketch becomes the starting point for a more considered piece of work.
How to Draw Better: 10 Beginner-Friendly Techniques to Practice at Home Share on XHow to Start Drawing If You Have No Experience
You do not need to master all ten techniques at once. Begin with the materials you already have and build a manageable routine.
A basic starter kit includes:
- A standard graphite pencil.
- An eraser.
- Plain paper or a sketchbook.
- A sharpener.
- A ruler for exercises involving perspective.
If you are interested in digital drawing, a tablet or smartphone drawing app can be useful, but neither is essential.
A simple 20-minute drawing routine
Minutes 1–5: Practise lines, circles and simple shapes.
Minutes 6–10: Draw an everyday object using contour or basic-shape techniques.
Minutes 11–15: Add shading, hatching or stippling.
Minutes 16–20: Review the drawing. Identify one thing that worked and one thing you want to improve.
Keep your early drawings rather than throwing them away. Comparing your work over several weeks can reveal improvements that are difficult to notice from one drawing to the next.
How to Draw Better: 10 Beginner-Friendly Techniques to Practice at Home Share on XThese ten drawing techniques give beginners a practical starting point, from capturing movement and studying contours to creating texture, shading objects and representing depth. Each technique develops a different skill, and together they provide a foundation for more ambitious artwork.
You might begin by sketching a coffee cup on your desk and eventually move on to portraits, fashion illustrations, landscapes or digital art. The important thing is to keep experimenting and to treat mistakes as information rather than evidence that you lack talent.
As the National Gallery of Art’s drawing resources demonstrate, there are many ways to make a drawing. You do not have to choose one style immediately, and you certainly do not need to wait until you feel like an artist.
Start with one technique today. Give yourself permission to make something imperfect. Then pick up your pencil again tomorrow. Your first drawing does not need to impress anyone. It simply needs to get you started.
Editorial sources and further reading
These sources support the practical guidance in the article and offer readers opportunities to explore the techniques in greater depth.
- National Gallery of Art — Explore the Basics of Drawing. A beginner-friendly resource covering gesture, contour, pressure, hatching and cross-hatching. National Gallery of Art
- Artists Network — The Blind Contour Exercise. Explains observational drawing and blind contour practice. Artists Network
- Artists Network — Beginner Drawing: Linear Perspective. Introduces vanishing points and spatial depth. Artists Network
- Adobe — How to Draw Dynamic Poses. Offers guidance on gesture, movement and drawing from references. Adobe
Frequently asked questions for SEO
What are the easiest drawing techniques for beginners?
Basic shapes, contour drawing, gesture drawing, simple shading and hatching are useful starting points. They teach observation, proportion, line control and the relationship between light and dark.
How can I improve my drawing skills at home?
Practise for 15–20 minutes a day using ordinary objects as references. Alternate between drawing outlines, building shapes, shading and observing proportions. Keep earlier sketches so you can track your progress.
What is the difference between hatching and cross-hatching?
Hatching uses parallel lines to create tone and texture. Cross-hatching adds intersecting lines, which can produce darker values and more complex textures.
Can I learn to draw without expensive art supplies?
Yes. A pencil, an eraser and ordinary paper are enough to begin. Professional materials can offer different effects, but learning to observe shapes, proportions, light and space matters more than buying an expensive drawing set.
Which drawing technique helps make objects look realistic?
Combining accurate proportions, contour lines, shading and perspective can make drawings appear more realistic. The best approach depends on the subject and the effect you want to achieve.


We at SFI.COZA think that stories have the ability to educate, uplift, and unite people. As a sociable and committed editor, we work hard to provide rich media coverage that connects with our audience. Our ambition to positively touch our audience's lives, one article at a time, is equal to our enthusiasm for storytelling. Come along on this adventure with us as we explore the planet.






Leave a Reply